Edible gardening is a rewarding endeavor, and among the many herbs that can be cultivated, lavender stands out not only for its enchanting fragrance but also for its numerous culinary and medicinal uses. However, timing is everything when it comes to harvesting lavender. In this article, we will explore the best practices for harvesting, cutting, and drying this fragrant flower.
First and foremost, understanding the right time to harvest lavender is crucial. Lavender is typically ready for harvest when about half of the flower buds on the stem have opened. This usually occurs in mid - summer, but the exact timing can vary depending on the climate and the specific variety of lavender you are growing. For instance, English lavender, one of the most popular types, often reaches its peak harvest time in July. You can tell if the lavender is ready by gently squeezing a few buds. If they release a strong, sweet aroma, it's a good sign that it's time to start harvesting.
When it comes to the actual harvesting process, you'll need a sharp pair of pruning shears or scissors. It's important to make clean cuts to avoid damaging the plant. Begin by selecting the stems that are at the right stage of bloom. Cut the stems about 4 - 6 inches from the base of the plant. This not only ensures that you get a good amount of the flower for use but also helps the plant to recover and potentially produce a second flush of blooms later in the season.
Once you've harvested the lavender, you can use it fresh in a variety of ways. In the kitchen, lavender can be used to add a unique flavor to both sweet and savory dishes. For example, you can make lavender - infused sugar by combining fresh lavender buds with granulated sugar in a jar and letting it sit for a few weeks. This lavender - sugar can then be used in baking, such as in cookies or cakes, to give them a delightful floral twist. In savory cooking, lavender can be added to marinades for meats or used to flavor roasted vegetables.
However, if you want to preserve the lavender for a longer period, drying is the way to go. To dry lavender, gather the stems into small bunches, about 10 - 15 stems per bunch. Tie the bunches together at the base with a piece of string or twine. Then, hang the bunches upside down in a dry, dark, and well - ventilated area. A closet or a shed can be an ideal place. Make sure there is enough space between the bunches to allow for proper air circulation. It usually takes about two to three weeks for the lavender to dry completely. You'll know it's dry when the buds are brittle and the stems are no longer flexible.
Dried lavender has a wide range of uses. You can use it to make potpourri by combining it with other dried flowers and spices. Simply place the potpourri in a decorative bowl and let it fill your home with its lovely scent. Dried lavender can also be used in sachets. Fill small fabric bags with the dried lavender and place them in your drawers or closets to keep your clothes smelling fresh and to deter moths. In addition, dried lavender can be used in herbal teas. Steep a teaspoon of dried lavender in hot water for a few minutes, strain, and enjoy a calming and fragrant cup of tea.
Another important aspect of lavender harvesting is proper plant care after the harvest. After you've cut the lavender stems, it's a good idea to give the plant a light pruning. Remove any dead or damaged branches and shape the plant as needed. This will help the plant to stay healthy and promote new growth. Water the lavender sparingly, as it is a drought - tolerant plant. Over - watering can lead to root rot and other problems.
In conclusion, harvesting lavender is a wonderful part of edible gardening. By following the right timing, using proper cutting techniques, and learning how to dry and use the lavender, you can enjoy the many benefits of this beautiful and fragrant herb. Whether you're using it in the kitchen, for home decor, or for relaxation, lavender is a versatile addition to any garden.
The Enchanting Allure of the Hawthorn Tree
The Enchanting Allure of the Hawthorn Tree
The Magic of Low - Maintenance Shade Trees in Your Landscape
The Magic of Low - Maintenance Shade Trees in Your Landscape
Blue Hydrangeas: A Splash of Color in Your Garden
Blue Hydrangeas: A Splash of Color in Your Garden
Unveiling the Mysteries of Lawn Mushroom Circles and Prevention Tips
Unveiling the Mysteries of Lawn Mushroom Circles and Prevention Tips
The Secret to a Thriving Yard: Fertilizer Mastery
The Secret to a Thriving Yard: Fertilizer Mastery
Pre - Winter Yard Preparation: A Smart Move
Pre - Winter Yard Preparation: A Smart Move
Gardening's Tiny Menace: Cucumber Beetles Unveiled
Gardening's Tiny Menace: Cucumber Beetles Unveiled
Reclaim Your Container Gardens from Ants
Reclaim Your Container Gardens from Ants
Nature's Defense: Keeping Fleas and Ticks at Bay with Garden Plants
Nature's Defense: Keeping Fleas and Ticks at Bay with Garden Plants
Battling the Tiny Invaders in Your Garden
Battling the Tiny Invaders in Your Garden
The Hidden Gems of Your Garden: Alpine Strawberries
The Hidden Gems of Your Garden: Alpine Strawberries
Unveiling the Secrets of Lavender Harvesting
Unveiling the Secrets of Lavender Harvesting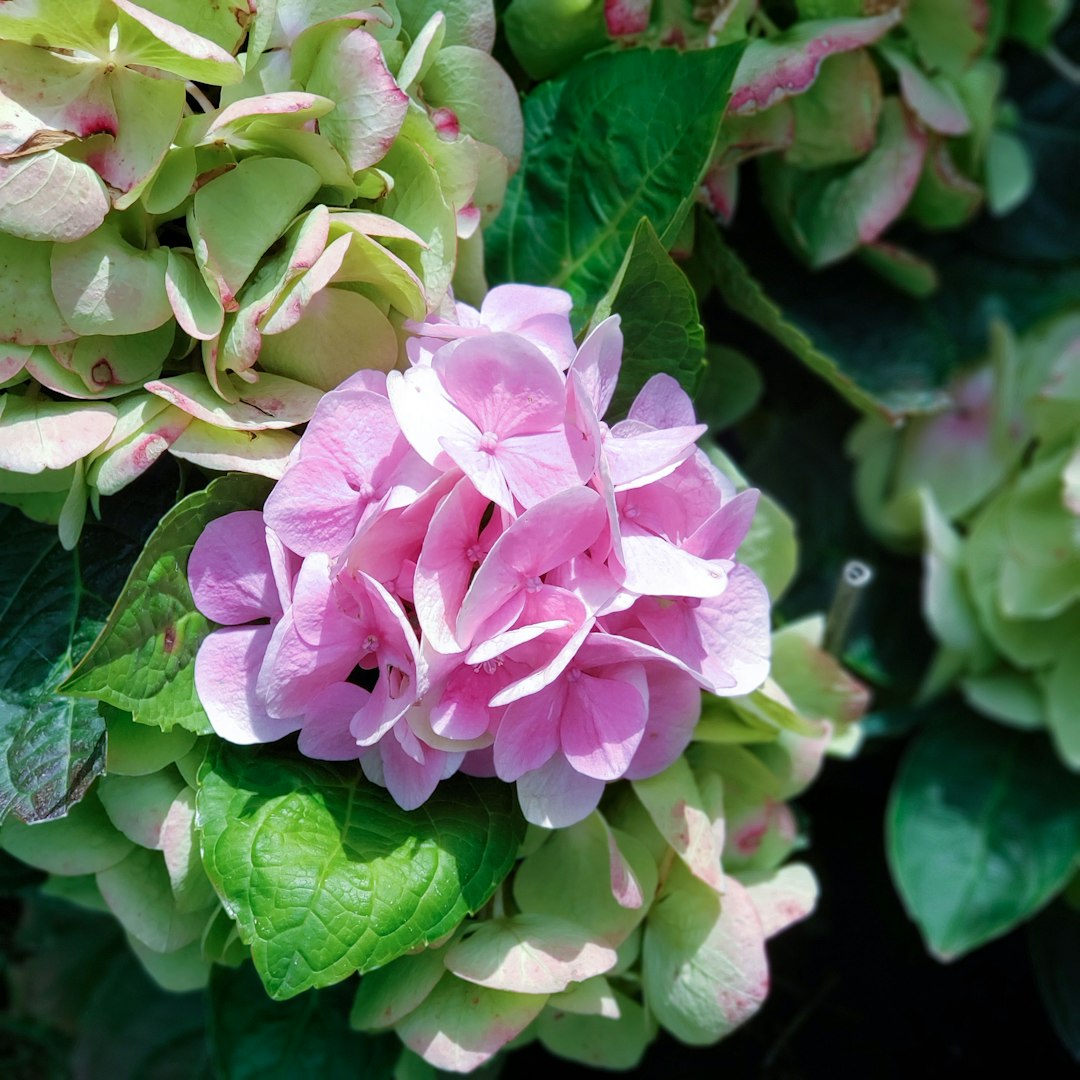
Unveiling the Secrets of Kale Harvesting
Unveiling the Secrets of Kale Harvesting
The Secret to Thriving Indoor Plants: Fertilization Guide
The Secret to Thriving Indoor Plants: Fertilization Guide
The Secret to Thriving Aloe Vera in Your Home
The Secret to Thriving Aloe Vera in Your Home
The Secret to Thriving Indoor Plants: Pot Selection
The Secret to Thriving Indoor Plants: Pot Selection
The Allure of Indoor Trees: Elevating Your Space
The Allure of Indoor Trees: Elevating Your Space
Reviving Your Peace Lily: Unveiling the Secrets Behind Brown-Tipped Leaves
Reviving Your Peace Lily: Unveiling the Secrets Behind Brown-Tipped Leaves
The Secret to Thriving Houseplant Multiplication
The Secret to Thriving Houseplant Multiplication
The Secret to a Thriving Indoor Plant Oasis
The Secret to a Thriving Indoor Plant Oasis