Houseplants have a unique way of bringing life and freshness into our homes. Among the many popular houseplants, the peace lily stands out for its elegant white blooms and air - purifying qualities. However, to keep your peace lily healthy and vibrant, proper repotting is essential. In this step - by - step guide, we'll explore how to repot a peace lily, the signs that indicate it's time for a new pot, and tips for a successful repotting process.
First, let's talk about the signs that your peace lily needs repotting. One of the most obvious signs is when the roots start to grow out of the drainage holes at the bottom of the pot. This indicates that the plant has outgrown its current container and is in search of more space. Another sign is slow growth or yellowing leaves. If your peace lily seems to be struggling to thrive, even with proper watering and fertilizing, it might be because the roots are cramped. You may also notice that the soil dries out very quickly after watering. This could mean that the root system has filled up the pot, leaving little room for the soil to hold moisture.
Now, let's move on to the step - by - step process of repotting a peace lily. The first step is to gather all the necessary materials. You'll need a new pot that is one or two sizes larger than the current pot. Make sure the new pot has drainage holes to prevent waterlogging. You'll also need fresh potting soil. A good quality, well - draining potting mix is ideal for peace lilies. Additionally, have a trowel or a small shovel on hand to help with the transfer of the plant.
Before you start repotting, water your peace lily a day or two in advance. This will make the soil easier to work with and reduce the stress on the plant. Once the soil is moist, gently turn the pot upside down and tap the bottom to loosen the plant. If the plant doesn't come out easily, you can use a trowel to carefully loosen the edges of the soil. Be gentle with the roots to avoid damaging them.
Once the plant is out of the pot, examine the roots. If there are any dead or damaged roots, carefully trim them off with a pair of clean, sharp scissors. This will encourage new root growth. Place a layer of fresh potting soil at the bottom of the new pot. Then, position the peace lily in the center of the new pot. Make sure the top of the root ball is about an inch below the rim of the pot. Fill the remaining space around the root ball with fresh potting soil, gently pressing it down to remove any air pockets.
After repotting, water the plant thoroughly. This will help the soil settle around the roots. Place the peace lily in a location with bright, indirect light. Avoid direct sunlight, as it can scorch the leaves. Keep the soil consistently moist but not waterlogged. Overwatering can lead to root rot, which is a common problem for peace lilies.
To ensure the success of your repotting, here are some additional tips. Fertilize your peace lily regularly during the growing season. A balanced, water - soluble fertilizer can provide the necessary nutrients for healthy growth. You can also mist the leaves occasionally to increase humidity, as peace lilies prefer a humid environment. Another tip is to monitor the plant closely after repotting. It may take a few weeks for the plant to adjust to its new environment. If you notice any signs of stress, such as wilting or yellowing leaves, make the necessary adjustments to its care.
In conclusion, repotting a peace lily is a crucial part of its care routine. By being aware of the signs that indicate it's time for repotting, following the proper steps, and implementing the tips for success, you can ensure that your peace lily continues to thrive and bring beauty to your home for years to come. So, don't be afraid to give your peace lily a new home when it needs it. With a little effort, you'll be rewarded with a healthy and happy plant.

The Enchanting Allure of the Hawthorn Tree
The Enchanting Allure of the Hawthorn Tree
The Magic of Low - Maintenance Shade Trees in Your Landscape
The Magic of Low - Maintenance Shade Trees in Your Landscape
Blue Hydrangeas: A Splash of Color in Your Garden
Blue Hydrangeas: A Splash of Color in Your Garden
Unveiling the Mysteries of Lawn Mushroom Circles and Prevention Tips
Unveiling the Mysteries of Lawn Mushroom Circles and Prevention Tips
The Secret to a Thriving Yard: Fertilizer Mastery
The Secret to a Thriving Yard: Fertilizer Mastery
Pre - Winter Yard Preparation: A Smart Move
Pre - Winter Yard Preparation: A Smart Move
Gardening's Tiny Menace: Cucumber Beetles Unveiled
Gardening's Tiny Menace: Cucumber Beetles Unveiled
Reclaim Your Container Gardens from Ants
Reclaim Your Container Gardens from Ants
Nature's Defense: Keeping Fleas and Ticks at Bay with Garden Plants
Nature's Defense: Keeping Fleas and Ticks at Bay with Garden Plants
Battling the Tiny Invaders in Your Garden
Battling the Tiny Invaders in Your Garden
The Hidden Gems of Your Garden: Alpine Strawberries
The Hidden Gems of Your Garden: Alpine Strawberries
Unveiling the Secrets of Lavender Harvesting
Unveiling the Secrets of Lavender Harvesting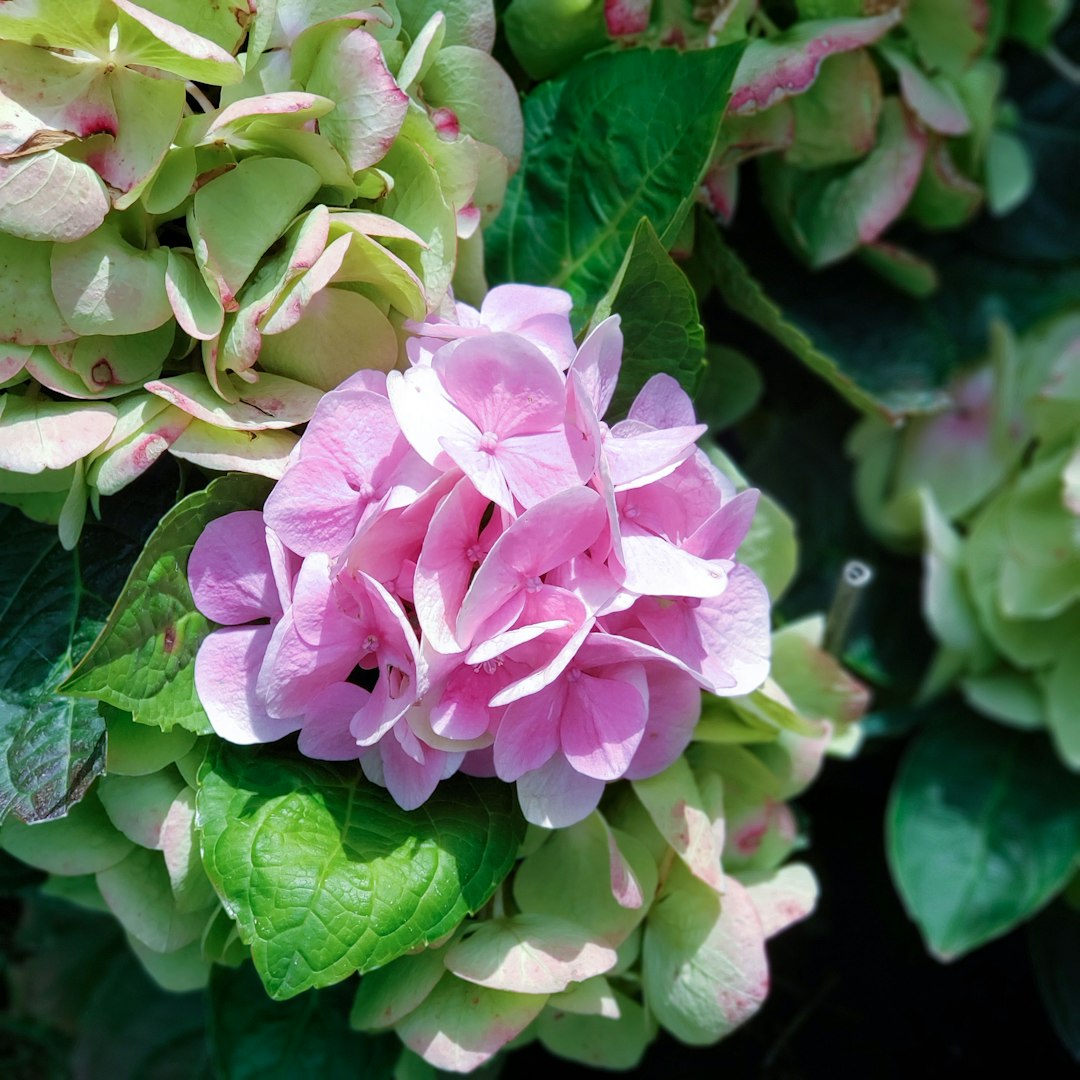
Unveiling the Secrets of Kale Harvesting
Unveiling the Secrets of Kale Harvesting
The Secret to Thriving Indoor Plants: Fertilization Guide
The Secret to Thriving Indoor Plants: Fertilization Guide
The Secret to Thriving Aloe Vera in Your Home
The Secret to Thriving Aloe Vera in Your Home
The Secret to Thriving Indoor Plants: Pot Selection
The Secret to Thriving Indoor Plants: Pot Selection
The Allure of Indoor Trees: Elevating Your Space
The Allure of Indoor Trees: Elevating Your Space
Reviving Your Peace Lily: Unveiling the Secrets Behind Brown-Tipped Leaves
Reviving Your Peace Lily: Unveiling the Secrets Behind Brown-Tipped Leaves
The Secret to Thriving Houseplant Multiplication
The Secret to Thriving Houseplant Multiplication
The Secret to a Thriving Indoor Plant Oasis
The Secret to a Thriving Indoor Plant Oasis